Embrace these Yoga Asanas for Thyroid Relief
Many studies show a positive relationship between Yoga and Thyroid. Although these asanas improve Thyroid function, it does not act as a medicine or a treatment substitute. However, there is no doubt that Yoga for the Underactive Thyroid does yield good results. As mentioned, however, these Yoga Asanas should not be an alternative but combined with treatment. The symbiosis shall enable you to heal quicker and better. Keep in mind that these poses cannot cure your thyroid imbalance. Yoga is considered a complementary therapy. Here are some of the Yoga poses to improve the Health of the Thyroid. Embracing Yoga benefits one’s health and well-being. There are many benefits of Yoga for your health. Besides relieving stress, it balances energy and enhances flexibility. According to some studies, there is a deep correlation between stress and Hypothyroidism.
Yoga for Underactive Thyroid ,Yoga poses to Improve Thyroid
As we celebrate today as Yoga Day, it is important to understand first what it means. Most people associate it with just breathing exercises. Many ignorant souls unfortunately are not aware of this ancient tradition. After Bollywood celebrities like Shilpa Shetty and Malaika Arora’s videos went viral, people became more interested. Here are four poses that can help you manage your TSH levels. Besides breathing also helps immensely.
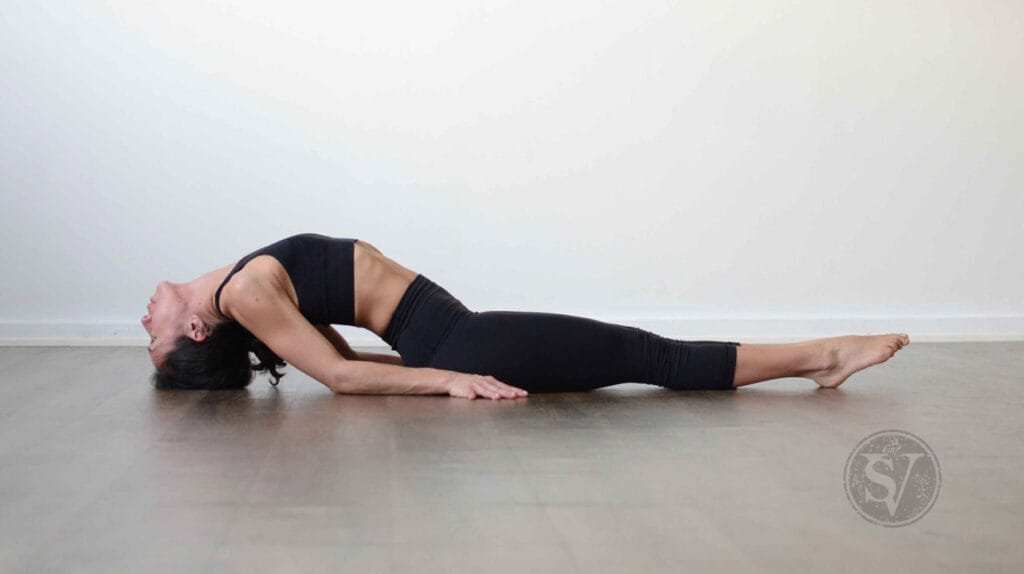
1.Matsyasana Or Fish pose

Steps of Matsyasana
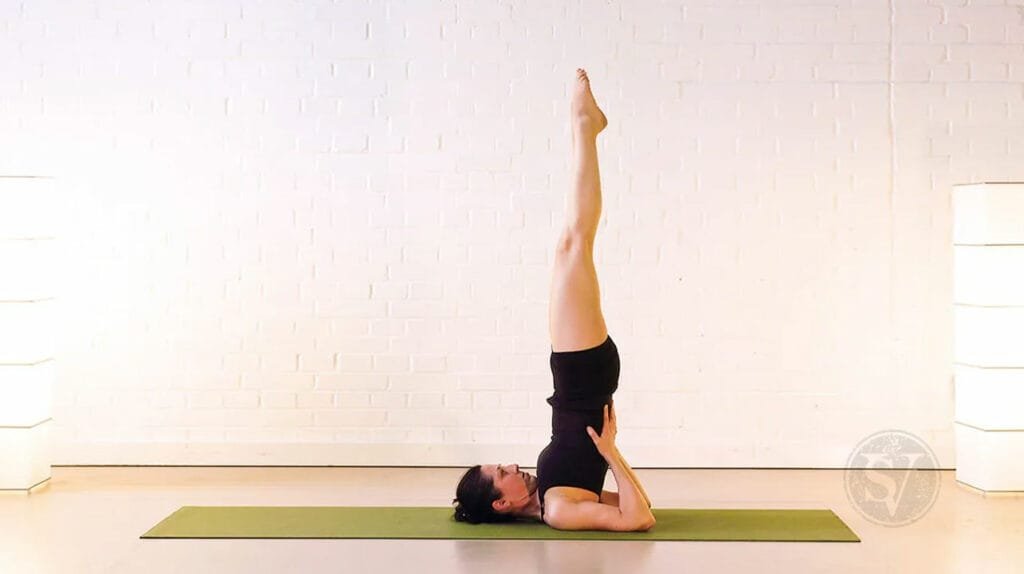
The fish pose is the perfect counter pose to a shoulder stand. It’s more accessible and can also be done on its own.
- Sit on your buttocks with your legs extended in front of you.
- Move to one side at a time so you can place your hands underneath your buttocks.
- Face your palms down and your fingers facing toward your toes.
- Draw your elbows into each other and open your chest.
- Slowly lean back onto your forearms and elbows.
- Again, open your chest as much as possible and press into your arms to stay lifted.
- Drop your head back if you feel comfortable.
- Release by lifting your head, releasing your hands, and lying down on your back.
2. Viparita Karni or Legs-up-the-wall pose
It doesn’t put pressure on the neck and is suitable for most people. It’s an excellent choice since it’s passive and helps to restore your balance.

Steps of Viparita Karni
- Use a folded blanket or firm pillow underneath your hips for support.
- Add more height to the support if you’re more flexible.
- Sit with your right side against the wall.
- Lift your legs along the wall at the same time as you lie back.
- Your buttocks should be right up against the wall or a few inches away.
- Experiment to find the height and distance that works for you.
- Soften your throat as you relax your neck and chin.
- You can keep your arms alongside your body, above your head, or in any comfortable position.
- Remain in this position for up to 20 minutes.
- You can perform a variation by allowing your legs to open wide to either side or bringing the soles of your feet together and bending your knees.
- Release the pose by pushing yourself away from the wall.
3,Chakravakasana or the Cat-cow pose
The fluid motion in the cat-cow pose is also believed to stimulate your thyroid. Drawing your chin into your chest and then exposing your throat chakra brings blood flow to this area.

Steps of Chakravakasana
- Come onto all fours with your wrists directly under your shoulders and your knees underneath your hips.
- Move your weight forwards and backward and side-to-side.
- Then return to the center and ensure you have equal weight on all four points.
- Inhale and let your belly fill with air and drop toward the mat.
- Look up toward the ceiling and lengthen your neck and throat.
- Exhale and draw your navel into your spine.
- Tuck your chin into your chest as you lift and round your spine toward the ceiling.
- Allow your breath to guide the movement.
- Continue this flowing movement for a few minutes.
- Release by sinking back into the child’s pose for a few moments.
4. Bhujangasana or Cobra pose
Cobra pose brings gentle stimulation to the thyroid gland. It’s not as intense as some poses that have you tilting your head all the way back.

Steps of Bhujangasana
- Lie flat on your stomach with your hands underneath your shoulders and your palms pressing down.
- Squeeze your elbows into the side of your chest.
- Press into your palms as you feel the energy of your thumbs drawing back. Feel the energy of your pinky fingers moving forward.
- On an inhale, slowly lift your head, chest, and shoulders.
- Come partway, halfway, or all the way up.
- Keep a slight bend in your elbows.
- If it’s comfortable you can let your head drop back.
- Release the pose by bringing your head back to the center.
- On an exhale, slowly lower back down to the mat.
- Relax your arms by your sides.
- Gently shake your hips from side to side to release your lower back.
Also Read : Yoga And Asanas: Is Yoga Just Limited To Asanas?


